Whether you’re looking for a quick afternoon project or a more involved craft, our list of 10 easy Easter crafts promises fun for everyone. Get ready to dive into a world of joyous creativity!
Fun & Easy Easter Crafts for All Ages
From transforming everyday materials into adorable Easter decorations to personalizing festive ornaments, these activities not only stir imagination but also bring the spirit of the holiday into your home.
Just two quick notes before we jump in. First, this post includes some affiliate links where I recommended materials. If you buy anything through these links, we earn a small commission at no extra cost to you. Also, I used AI to help me create images on this page.
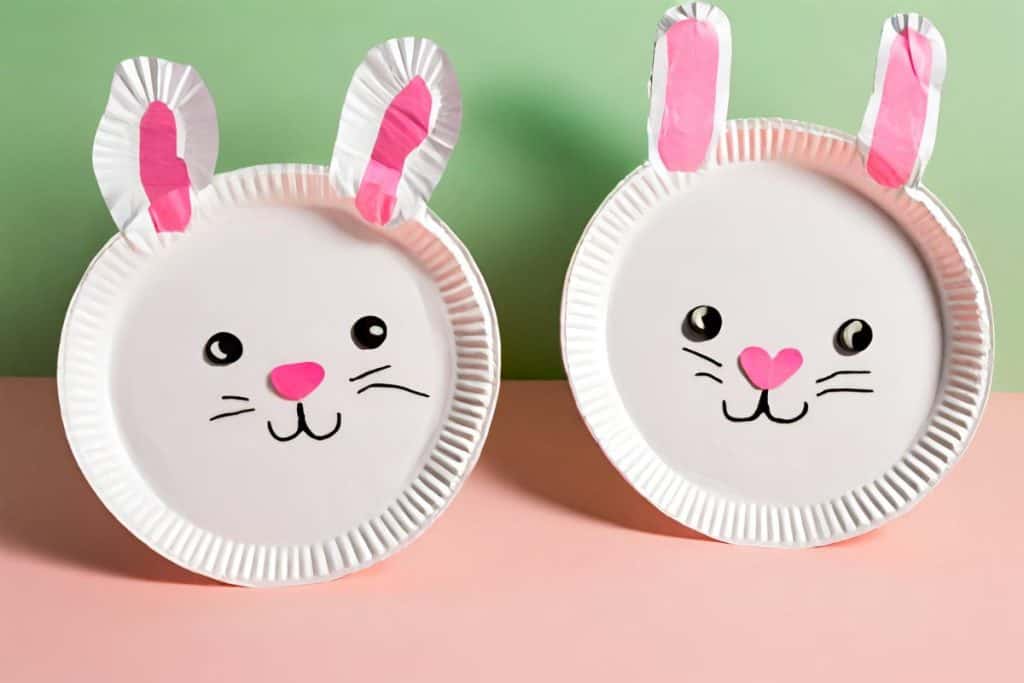
1: Bunny Paper Plates
Turns ordinary paper plates into charming Easter decorations with this easy craft. It’s perfect for younger kids!
Materials:
- Paper plates
- Cotton balls
- Glue
- Markers
- Construction paper (for ears and nose)
Instructions:
- Cut out ear shapes from construction paper and glue them to the top of the paper plate.
- Use cotton balls to create a fluffy tail and glue it to the bottom of the plate.
- Draw a cute bunny face on the plate using markers. For added texture, a small pink construction paper can be used for the nose.
- Optional: Use additional decorations like glitter, stickers, or fabric scraps to personalize your bunny plate.
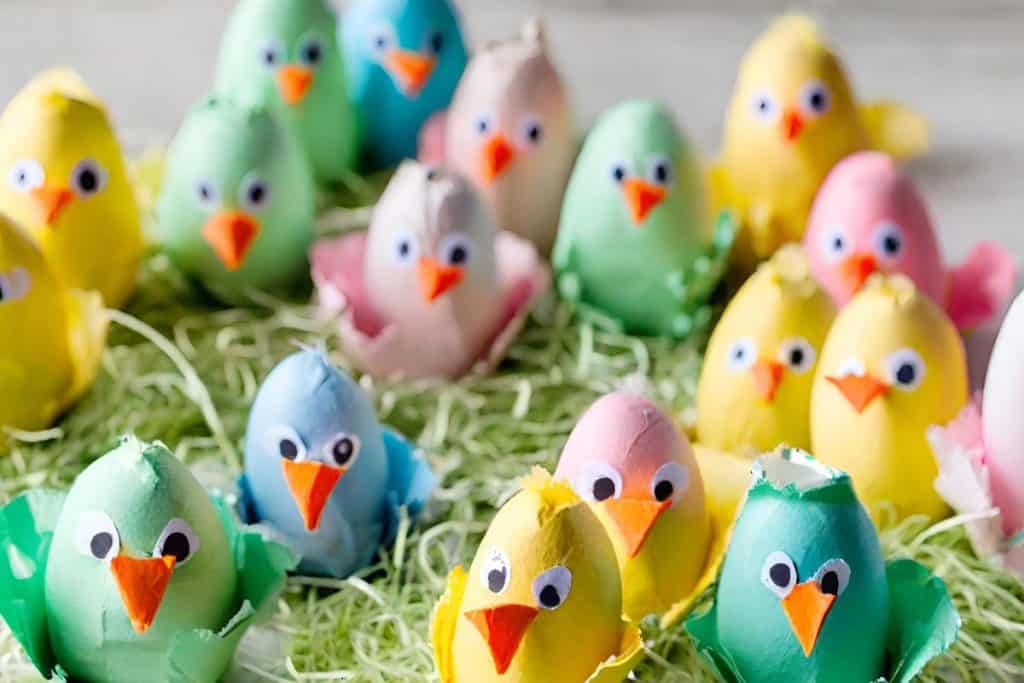
2: Egg Carton Chicks
Egg Carton Chicks breathe new life into used egg cartons, turning them into adorable chick figures. This eco-friendly craft is perfect for teaching kids about recycling while celebrating Easter.
Materials Needed:
- Egg carton
- Washable Paint in different pastel colors
- Faux feathers
- Glue
- Markers
Instructions:
- Cut the egg carton into individual cups.
- Paint each cup yellow and let it dry.
- Glue feathers to the sides of the cup for wings.
- Draw eyes and a beak on the front of the cup using markers.
- Optional: Add small orange construction paper feet beneath the chick for a fun touch.
You may also love: Meatless Meals for Lent: Kid and Teen Friendly
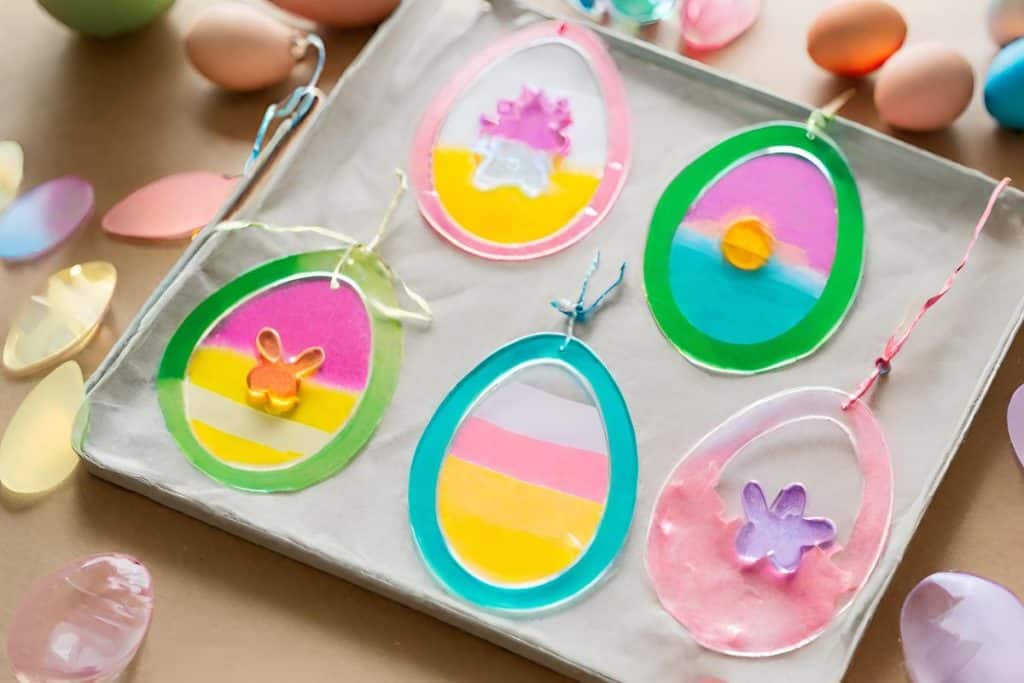
3: Easter Egg Suncatchers
These Easter Egg Suncatchers will brighten any window and are a joy for kids to make and display.
Materials Needed:
- Tissue paper (various colors)
- Wax paper or clear contact paper
- Cardstock (for egg frame)
- Scissors
- Glue or tape
Instructions:
- Cut the tissue paper into small pieces.
- Cut out egg shapes from the cardstock to create frames.
- Cut two pieces of clear contact paper larger than your egg frame. Peel the backing off one piece and place it sticky side up on your work surface.
- Arrange the tissue paper pieces on the sticky contact paper in a colorful pattern.
- Once the design is complete, place the second piece of contact paper over the top, sticky side down, to seal the tissue paper in place.
- Glue or tape the cardstock egg frame onto the sandwiched contact paper.
- Trim any excess contact paper from around the edges of the egg frame.
- Hang your Easter Egg Suncatcher on a window to catch the light.
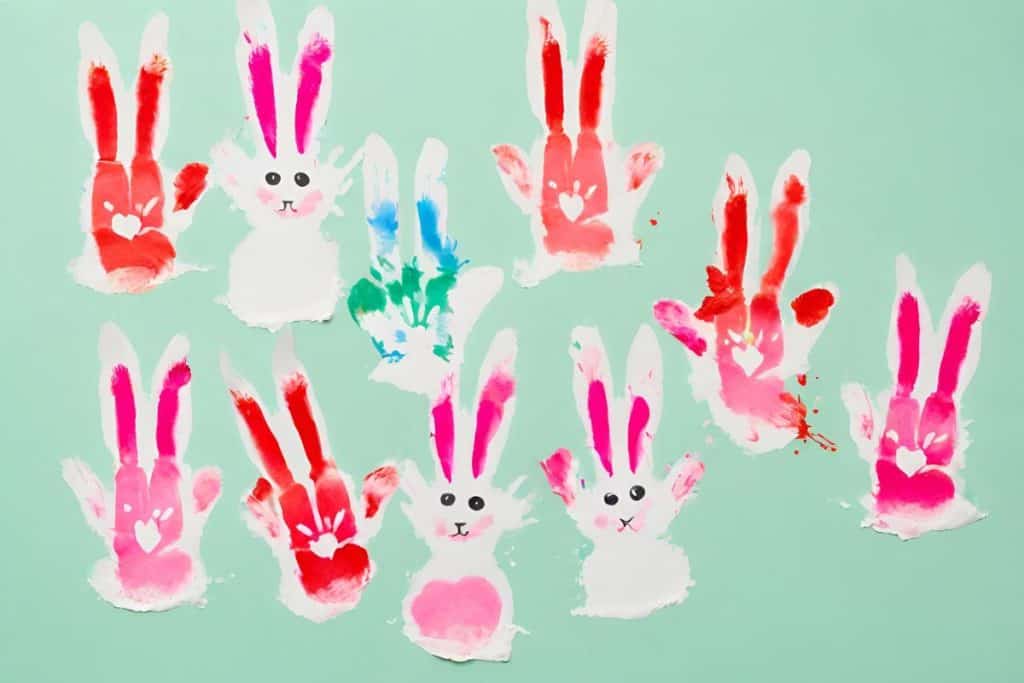
4: Handprint Bunnies
Handprint Bunnies provide a personal touch to Easter decorations, using the unique outline of each child’s hand to create adorable bunny shapes. This craft is a wonderful keepsake that captures the moment in time.
Materials Needed:
- Construction paper (various colors)
- Paint (white or any preferred color for the bunny)
- Markers
- Glue
- Googly eyes (optional)
Instructions:
- Paint your child’s hand with a thin coat of paint.
- Press the painted hand and just two fingers (either the middle and ring, or the middle and index, whichever is easiest for your child) onto a piece of construction paper to make a handprint with bunny ears. Allow it to dry.
- Once dry, use markers to add details such as whiskers, a nose, and a mouth. The fingers will represent the bunny’s ears.
- Cut around the handprint to isolate the bunny shape.
- Glue googly eyes onto the bunny or draw the eyes with markers.
- You can further decorate the bunny with additional paint, glitter, or stickers
.
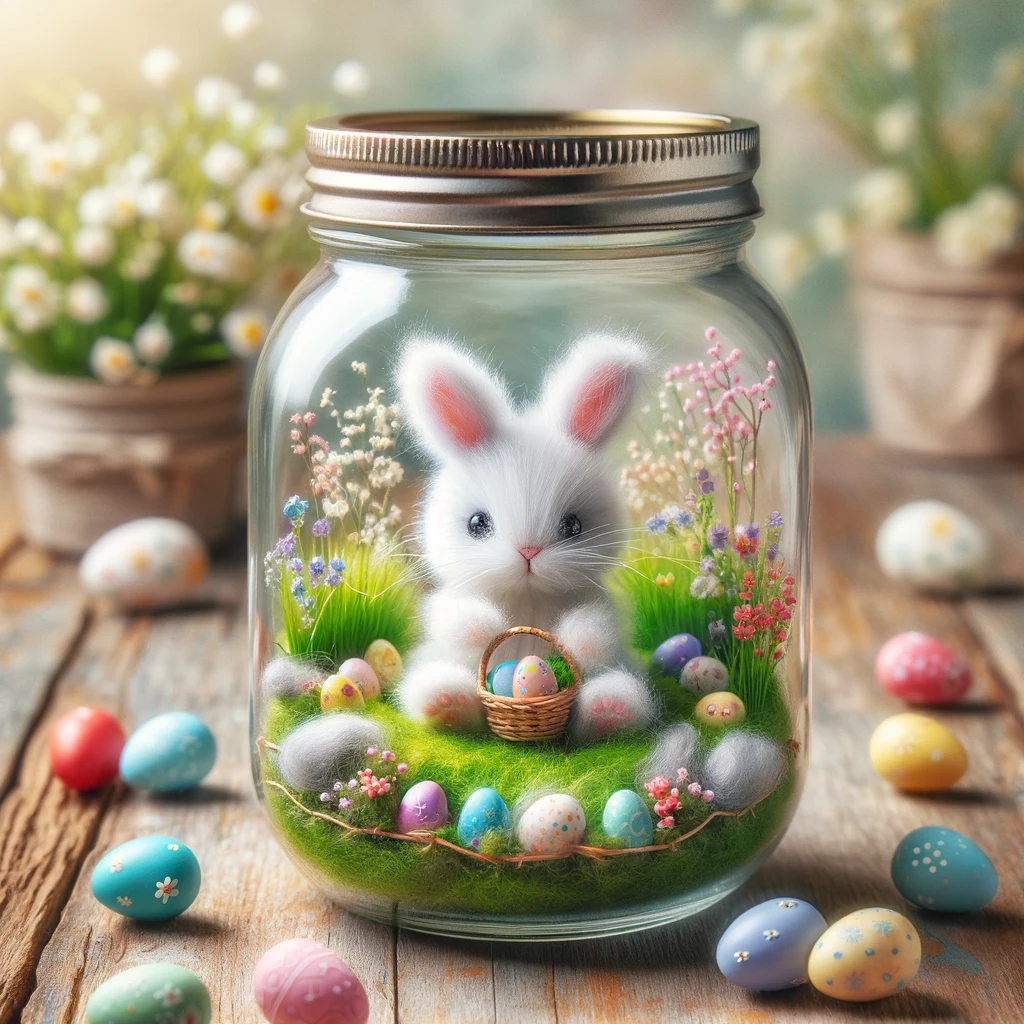
5: Mason Jar Easter Scenes
Remember back in the Valentine’s Day crafts post when I said you could reuse the mason jars from the tea light holder project for other crafts throughout the year? Well, here’s an example of that.
Mason Jar Easter Scenes allow kids to create miniature dioramas that celebrate the Easter season. This craft encourages storytelling and creativity as children design their own Easter-themed scenes. Since kids can make their scenes as simple or complex as they want, this one is perfect for older kids and teens, too.
Materials Needed:
- Mason jars (any size, I like these because they’re totally clear)
- Miniature Easter figurines (bunnies, chicks, eggs)
- Artificial grass or shredded green paper
- Glue or double-sided tape
- Optional: small flowers, pebbles, or other decorative elements
Instructions:
- Place a layer of artificial grass or shredded paper at the bottom of the mason jar to create the ground.
- Arrange and secure your miniature Easter figurines on the grass using glue or double-sided tape.
- Add additional decorative elements like flowers or pebbles to enhance the scene.
- Once your scene is complete, carefully screw the lid back onto the mason jar.
- These Easter scenes can be used as decorations or given as personalized gifts.
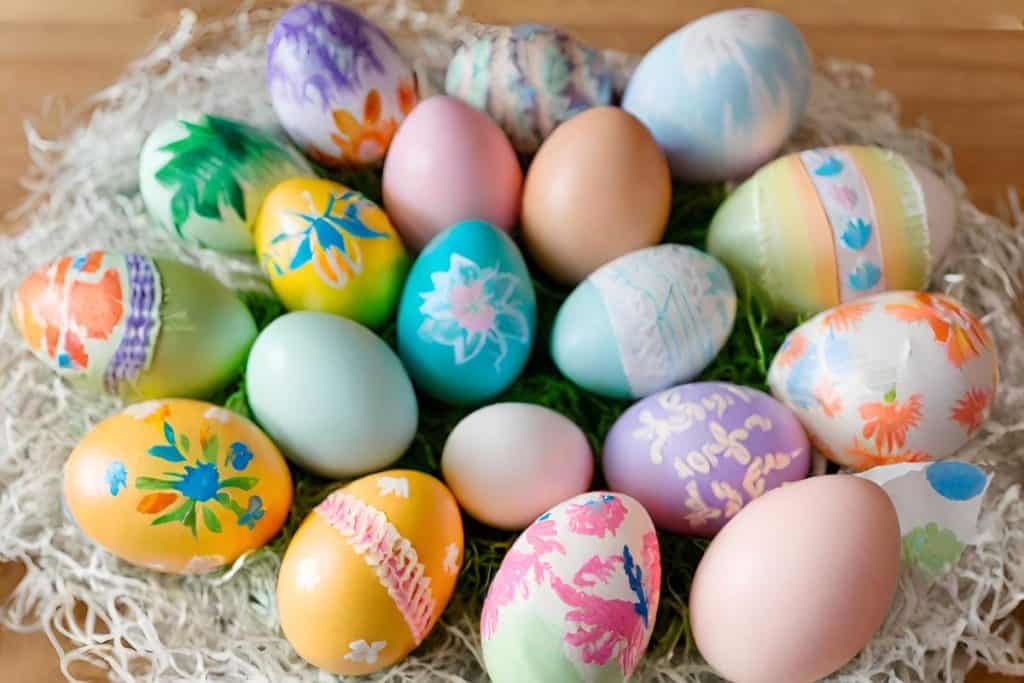
6: Egg Decorating
Egg Decorating is a timeless tradition, so I would be remiss if I didn’t include it on a list of Easter crafts!. With a variety of techniques available, kids can unleash their creativity, making each egg a unique piece of art.
Materials Needed:
- Hard-boiled eggs or plastic eggs
- Food coloring or paint
- Stickers
- Markers
- Optional: wax crayons, rubber bands, and leaves for resist techniques
Instructions:
- Prepare your eggs by boiling them or use plastic eggs as a no-mess alternative.
- For dyeing, mix food coloring with water and a little vinegar in cups. Dip the eggs into the dye for a few minutes until the desired color is achieved.
- Use stickers or rubber bands to create patterns on the eggs. Place the stickers on the eggs before dyeing, then remove them afterward to reveal the designs.
- For a batik effect, draw on the eggs with wax crayons before dyeing. The dye will not adhere to the waxed areas.
- Get creative with markers, decorating the dyed or undyed eggs with doodles, patterns, or Easter messages.
7: Easter Bunny Masks
Easter Bunny Masks are a fun and interactive craft that allows kids to transform into Easter bunnies. These masks can also serve as a playful addition to any Easter celebration.

Materials Needed:
- Cardstock or heavy paper (white or colored)
- Cotton balls
- Elastic string
- Markers or paint
- Scissors
- Hole punch
Instructions:
- Cut out a mask shape from the cardstock, including eye holes. Ensure the mask is large enough to cover the face.
- Cut out ear shapes and glue them to the top of the mask.
- Decorate the mask with markers or paint to add facial features like whiskers and a nose.
- Glue cotton balls around the edges of the mask for a fluffy texture.
- Punch holes on each side of the mask and attach an elastic string, adjusting it to fit comfortably around the head.
8: Popsicle Stick Chicks
This is a simple and adorable craft that even the tiniest of tots can do with a little help!
Materials Needed:
- Popsicle sticks
- Yellow paint
- Feathers
- Googly eyes
- Glue
- Orange construction paper (for beaks)
Instructions:
- Paint the popsicle sticks yellow and let them dry.
- Glue the sticks together side by side to create a chick’s body.
- Attach feathers to the top or sides of the sticks to represent wings.
- Glue on googly eyes and a small triangle of orange construction paper for the beak.
- Optional: Add additional decorations, such as painting patterns or gluing more feathers for extra fluffiness.
9: Easter Egg Holders
Paint toilet paper rolls in vibrant patterns and colors, then cut them into rings to serve as stands for decorated Easter eggs. This craft not only recycles but also beautifully displays Easter eggs.
Materials Needed:
- Toilet paper rolls
- Paint or colored markers
- Scissors
- Glue
- Decorative items (stickers, glitter, etc.)
Instructions:
- Cut the toilet paper rolls into two halves.
- Decorate each half with paint, markers, and decorative items.
- Once dry, use these as cute holders for Easter eggs.
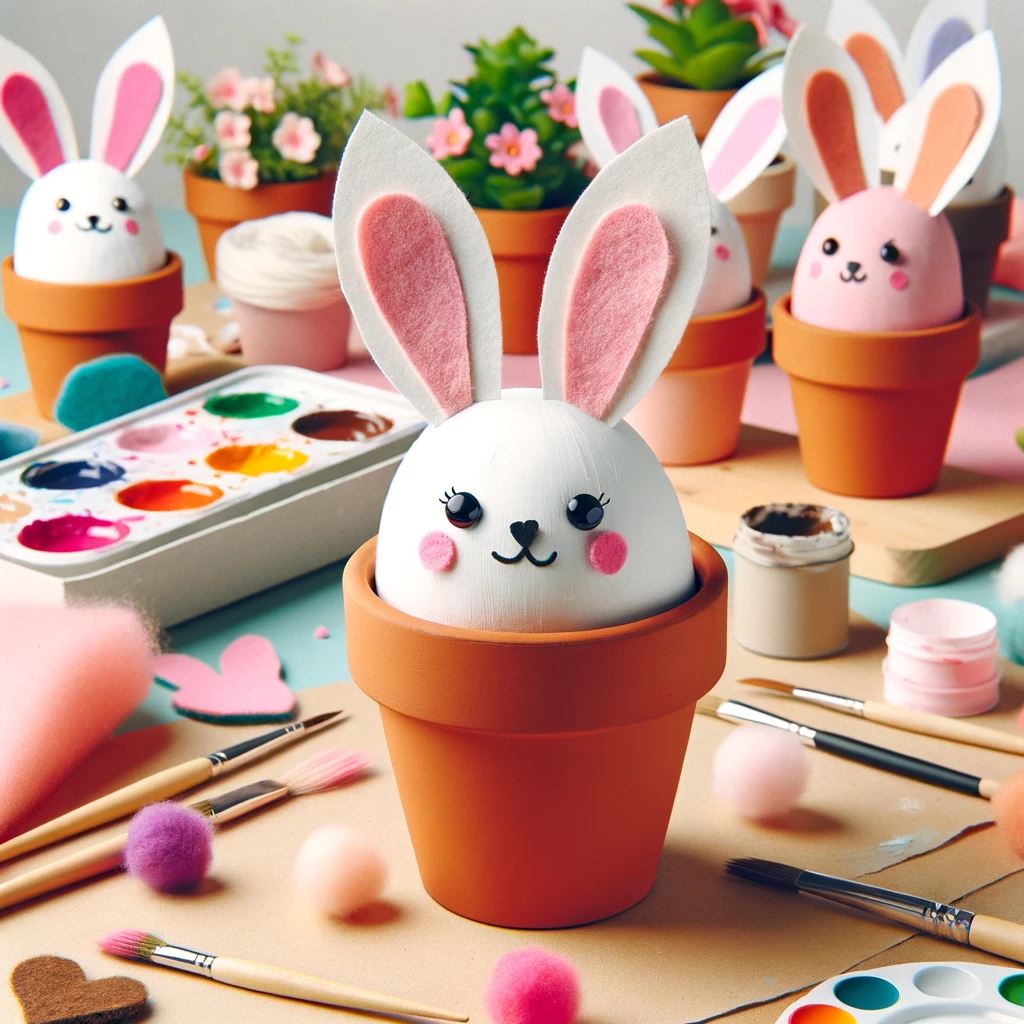
10: Flower Pot Bunnies
Flower Pot Bunnies are a charming and creative way to bring the Easter spirit into your home. These decorative bunnies can also serve as unique gifts.
Materials Needed:
- Small terracotta flower pots
- Hardboiled eggs (or egg-shaped craft foam)
- Paint (white, pink, and other colors)
- Felt (for ears)
- Pom-poms (for tails)
- Glue
- Markers or paint pens
Instructions:
- Paint the flower pots in your desired base color and let them dry. You can also leave them as is.
- Cut out ear shapes from felt and glue them to the top of the eggs or egg-shaped foam
- Glue a pom-pom on the back of the pot for the bunny’s tail.
- Use markers, paint pens, stickers, felt, or whatever else you have on hand to add bunny facial features on the eggs.
- Optional: Fill the pot with Easter treats, small plants, or artificial grass and eggs for an extra festive touch.
More Easter Fun to Check Out:
- DIY Painted Wooden Cross Craft for Easter
- 3 Printables for Easter: Memory Game, Word List Worksheet, and Word Search Puzzle
- Meatless Meals for Lent: Kid and Teen Friendly
Conclusion:
From traditional egg decorating to inventive bunny masks and suncatchers, the possibilities are endless. Each of these 10 easy Easter crafts provides an opportunity for families to come together, create, and enjoy the spirit of Easter. So, gather your materials, choose your favorite crafts, and start making this Easter one to remember!
PIN This for Later
