This post was updated on November 22, 2025
Some craft projects can serve more than one purpose. They can be fun to make and “gift-worthy” but they can also be functional within or around your home.
This DIY painted wooden pallet sign with five arrows is no exception. In fact, this craft project checked ALL of the boxes.
Painting a Wooden Pallet Sign
I love to work on craft projects in general. But, if I had to choose a material I really enjoy working with the most, it would be wood.
This project checks all of the boxes because:
- The signs were fun to make.
- Quick and easy – thanks to acrylic paint that dries fast!
- I gave both as gifts to my mom.
- She used them as home and garden decor.
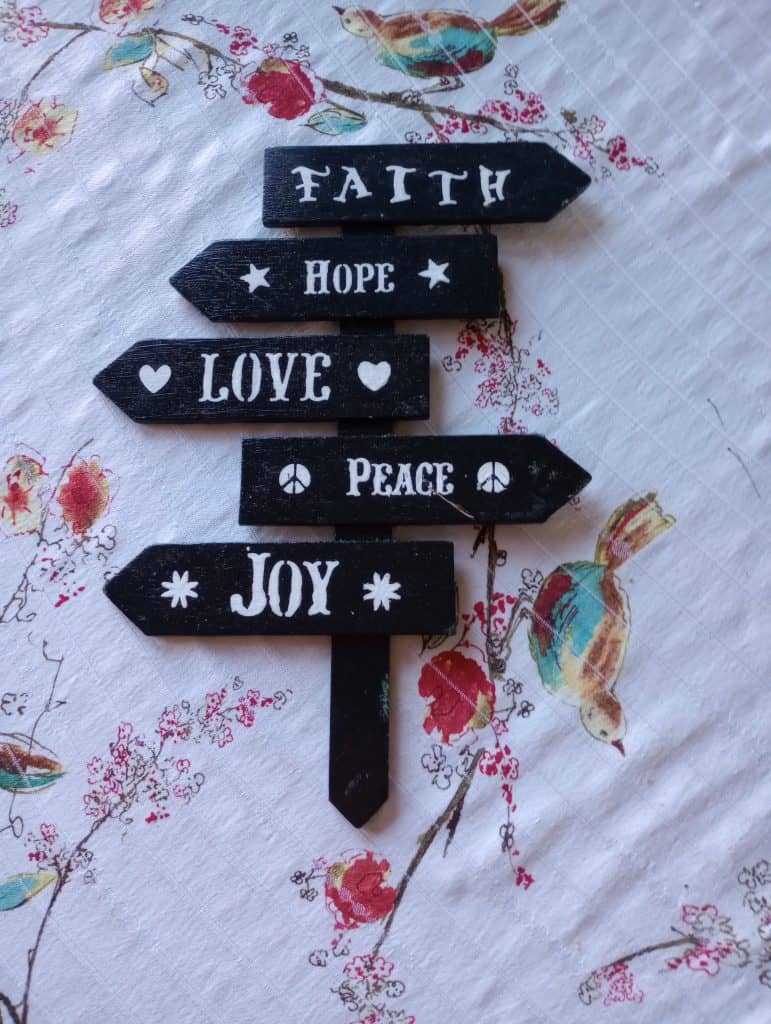
My favorite part about this project is the unlimited number of ways you can decorate the arrows. You can use stencils – which is what I did. But anyone with a Cricut or other cutting machine, could use that to add vinyl to their pallet sign.
Then, there is the matter of color combinations to use as well as “what” to paint on the signs: names, words, symbols, the list goes on!
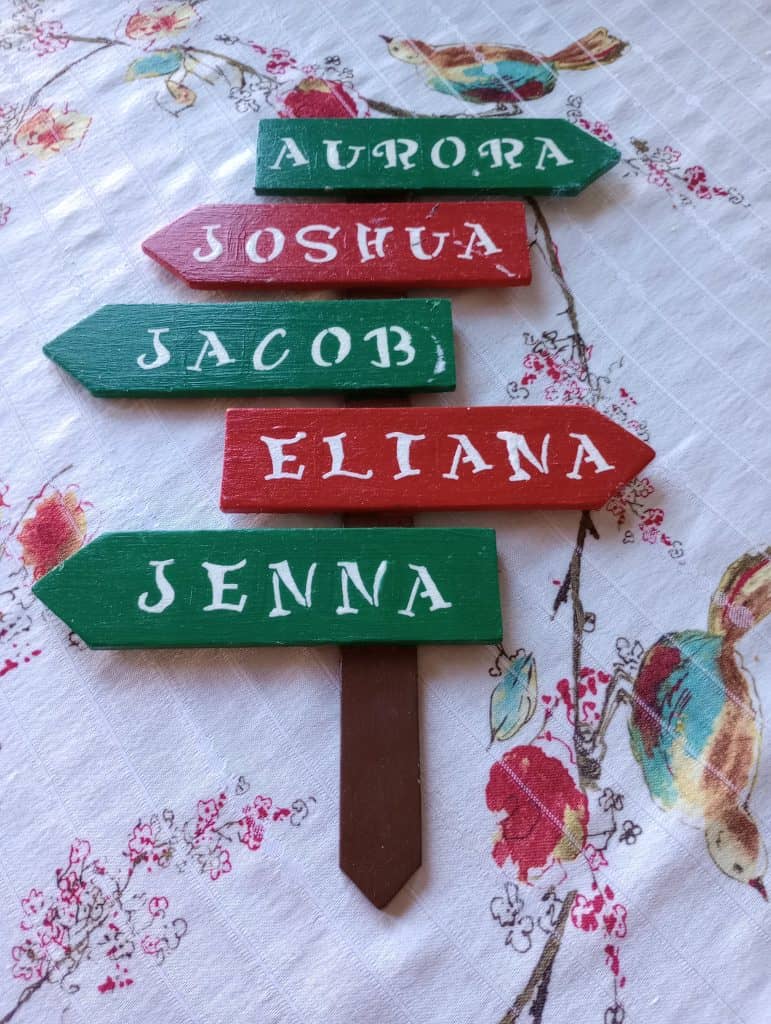
I made the sign at the top of this post with positive, motivational words. I painted the other one with the names of my three kids as well as the names of my two nieces since all five are my mom’s grandkids and the plan was to gift it to her. I chose to give her both of them.
You can scroll down to see what that one looks like. However, please note the photos for this post were taken 7 years after creating the signs and before starting this blog two years ago. They have obviously been displayed and, well….used.
How to Paint a 5-Arrow Wooden Sign
This really is a quick and easy project. However, you do need to be mindful of all the “nooks and crannies” so the whole thing is covered.
Supplies Needed
These supplies and instructions can be used for any wooden pallet sign project you choose to paint.
- wooden sign – any shape but must be blank/plain wood
- acrylic paints
- stencils
- small paint brushes – I prefer working with foam or sponge brushes for the larger areas
- mod podge
- wet wipes or wet paper towels for easy clean-up
Step-by-Step Instructions for Your Pallet Sign
- Make sure your blanks are clean and dry.
- Apply the first coat of paint on the front side and let dry.
- Apply the first coat of paint to the back side and let dry.
- If you are happy with the results, move on to the next steps or add a second coat to each side and let dry before proceeding.
- Use your stencils and brushes to paint the words, names, symbols you chose and let dry.
- Similar to step 4, determine if it looks good to you or give the design another coat and let dry.
- Use the mod podge to seal the design on the front side first and let dry. You may need two coats.
- Add one coat of mod podge to the back side as well.
Happy Crafting!
I hope you have as much fun making one wooden pallet sign as I did making two! If I could make more, I definitely would.
You May Also Like
- If you want a painting craft for Easter, take a look at these painted wooden crosses.
- Here is painting project to make if someone is O-Fish-Ally a Teenager.
- If you prefer printable projects, check out my collection of banners on my sister site: Hopeful Addie