Whether you have a sprawling backyard or a tiny balcony, these 10 cheap and easy DIY garden projects are perfect for adding a touch of greenery and personality to your home. Each project includes a list of supplies and step-by-step instructions to guide you through creating your own garden masterpiece.
Easy DIY Garden Ideas
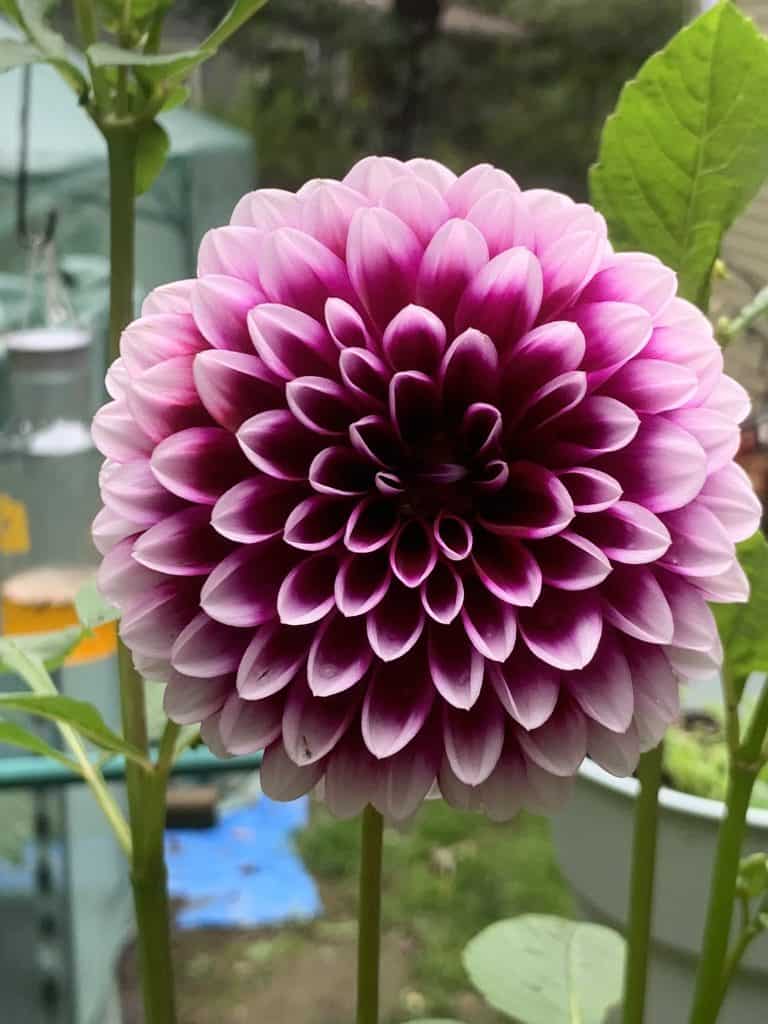
Let me preface this by saying that I do not have a green thumb at all. In fact, plants usually shrivel up and hide from me when they see me coming. My mom is a different story. She can grow just about anything, from tomatoes and zucchini to gorgeous teacup-sized dahlias (my favorite!). Plus, since she lives with me, I get all of the rewards without any of the work! 😀
While we have a fairly large backyard, it’s pretty rocky and uneven. Plus, the soil is awful. So, my mom plants everything in containers and raised beds. She uses everything from coffee cans to paint buckets to pallets. Below are just a few of the ideas she’s used over the years, as well as a few that we’re planning for this season. The first five are container ideas, the last five are garden decor ideas. Enjoy!
Oh, one last thing. Well, two, actually. First, this post includes affiliate links. If you buy anything through them, we earn a small commission at no extra cost to you. Second, some of the pics below were created with the help of AI because I either never took pics or lost them.
1. Coffee Container Planters
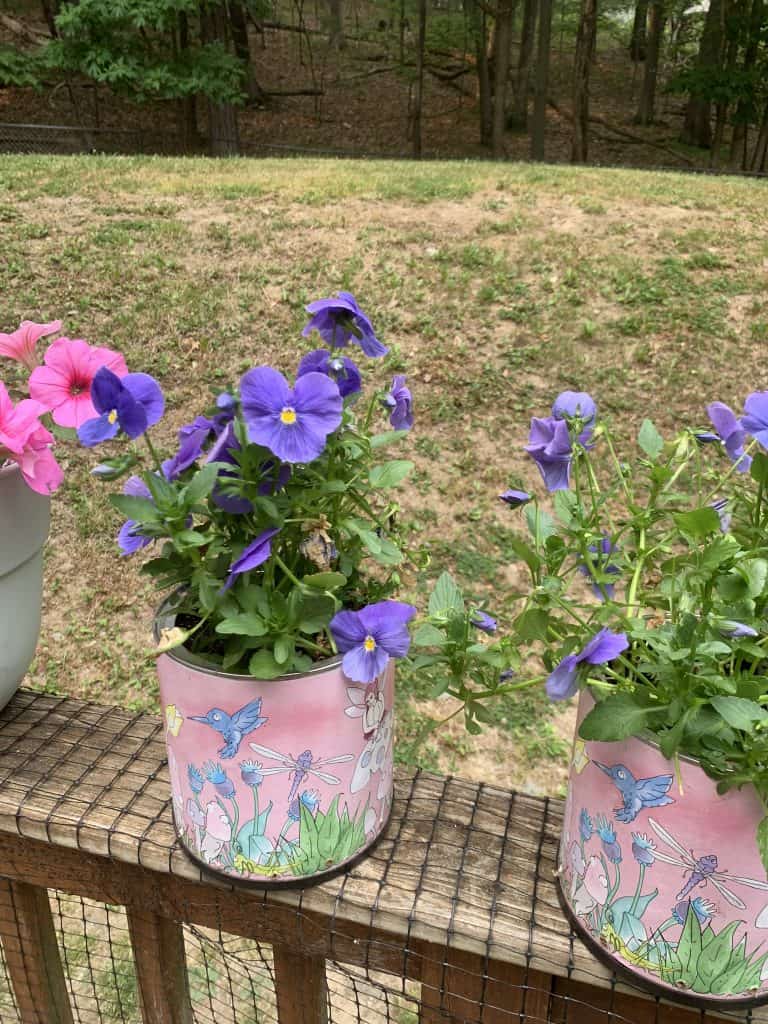
This is a super simple craft that my mom made last year out of old coffee cans (I drink A LOT of coffee, so she had more than enough for her flowers) and inexpensive contact paper.
Supplies:
- Old coffee containers (plastic or metal)
- Decorative contact paper
- Scissors
- Potting soil
- Seeds or young plants
- Drill (optional, for drainage holes)
Instructions:
- Prepare the Containers: Clean the coffee containers thoroughly and remove any labels.
- Add Drainage Holes: Use a drill to create a few drainage holes in the bottom of the containers. If you don’t have a drill, you can use a hammer and nail.
- Decorate: Cut the contact paper to size and carefully wrap it around the container, smoothing out any bubbles or wrinkles.
- Fill with Soil: Fill the containers with potting soil, leaving about an inch of space from the top.
- Plant: Sow seeds or transplant young plants into the soil. Water gently to settle everything in place.
- Display: Place your new planters in a sunny spot and enjoy!
2. Cinder Block Planters

Supplies:
- Cinder blocks
- Potting soil
- Plants or seeds
Steps:
- Arrange the cinder blocks in a design that fits your space.
- Fill the holes in the blocks with potting soil.
- Plant your plants or seeds in the soil.
- Water as needed based on the needs of the plants.
3. Pallet Herb Garden

Wooden pallets are often free or very cheap, and they make great containers for herbs or surfaces for raised gardens. We use them for both. In the pic above, my mom prepped one with fencing around it to keep the deer out. If you look closely, you’ll notice fencing around just about every part of the garden.
Supplies:
- Wooden pallet
- Sandpaper
- Paint or wood stain (optional)
- Landscaping fabric
- Staple gun
- Potting soil
- Herb plants
Instructions:
- Sand any rough edges to prevent splinters. Paint or stain the pallet if you want (we don’t bother with this, though).
- Cover the back, sides, and bottom of the pallet with landscaping fabric, securing it with a staple gun.
- Place the pallet garden in a location that receives plenty of sunlight.
- Fill the compartments with potting soil.
- Plant a variety of herbs in the different sections. Water thoroughly.
If you have leftover pallets, make this Easy DIY Painted 5-Arrow Wooden Pallet Sign!
4. Hanging Bottle Garden
If you don’t have much space on the ground, just “grow up” with these vertical planters made from bottles! There are a lot of cool tutorials on YouTube but this is my favorite:
Supplies:
- Plastic bottles
- Knife or scissors
- Twine or strong string
- Potting soil
- Small plants or herbs
Instructions:
- Cut the Bottles: Carefully cut the bottom third off several plastic bottles.
- Make Holes for Hanging: Punch holes on opposite sides near the cut edge for the twine.
- String the Bottles: Thread twine through the holes to create a loop for hanging.
- Fill with Soil and Plant: Fill each bottle with potting soil and plant small plants or herbs.
- Hang and Display: Hang the bottles from hooks or a frame. Ensure they get adequate light and water regularly.
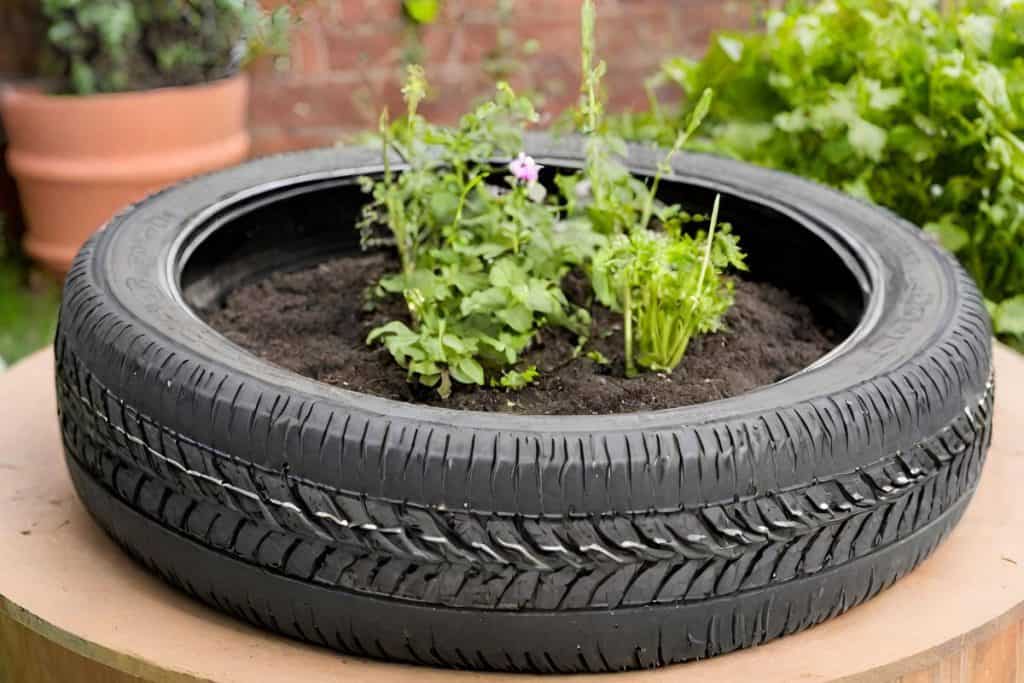
5. Tire Planters
Supplies:
- Old tires
- Non-toxic outdoor paint (optional)
- Potting soil
- Plants or seeds
Steps:
- Paint the tires with your chosen color and let them dry.
- Fill with potting soil.
- Plant flowers, herbs, or vegetables.
- Water appropriately based on plant needs.
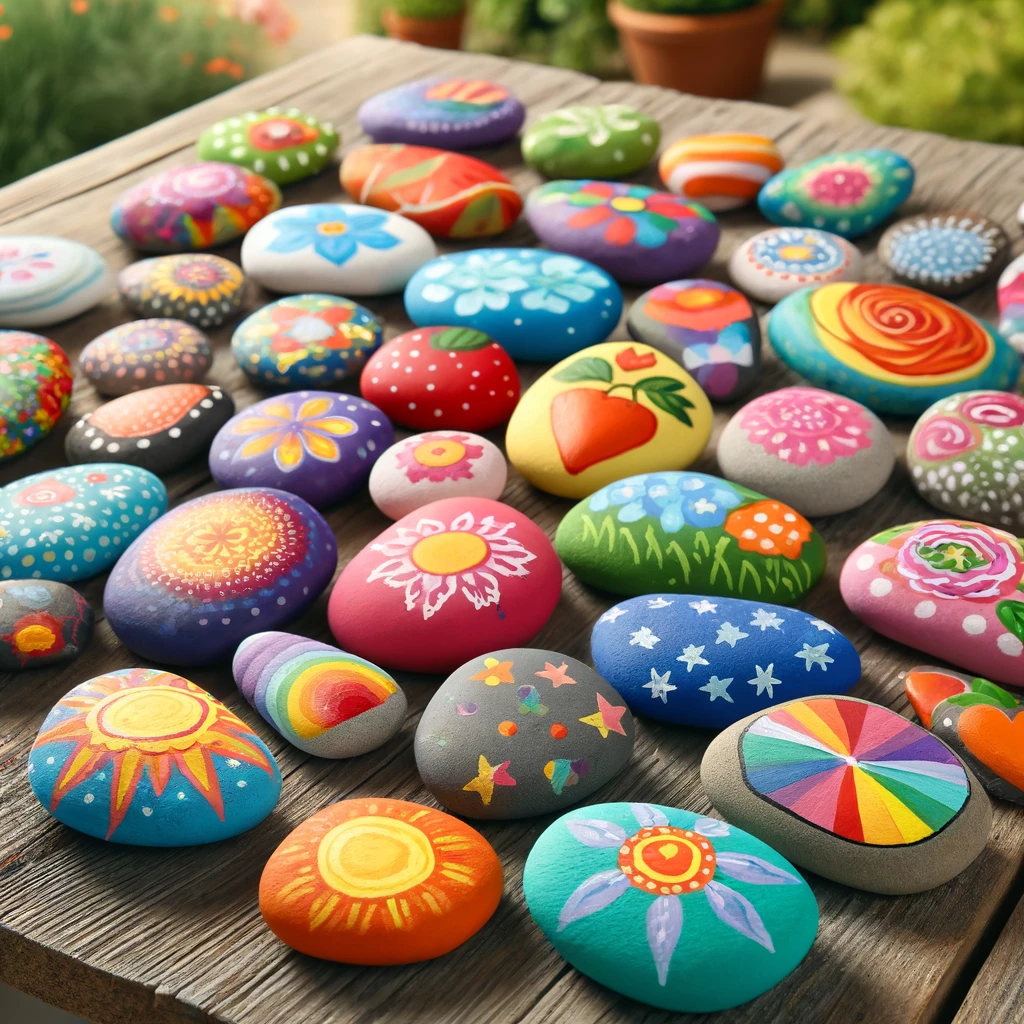
6. Painted Rock Garden Markers
Supplies:
- Smooth rocks or stones
- Acrylic paints and brushes
- Clear acrylic sealer
Steps:
- Have kids pick out smooth, flat rocks.
- Wash the rocks and dry them thoroughly.
- Let the kids paint the rocks with designs or pictures of the plants they mark, like carrots, tomatoes, or flowers.
- Once the paint dries, spray the rocks with a clear acrylic sealer to protect the paint from weathering.
- Place the painted rocks in the garden as whimsical markers.
7. Seed Bombs
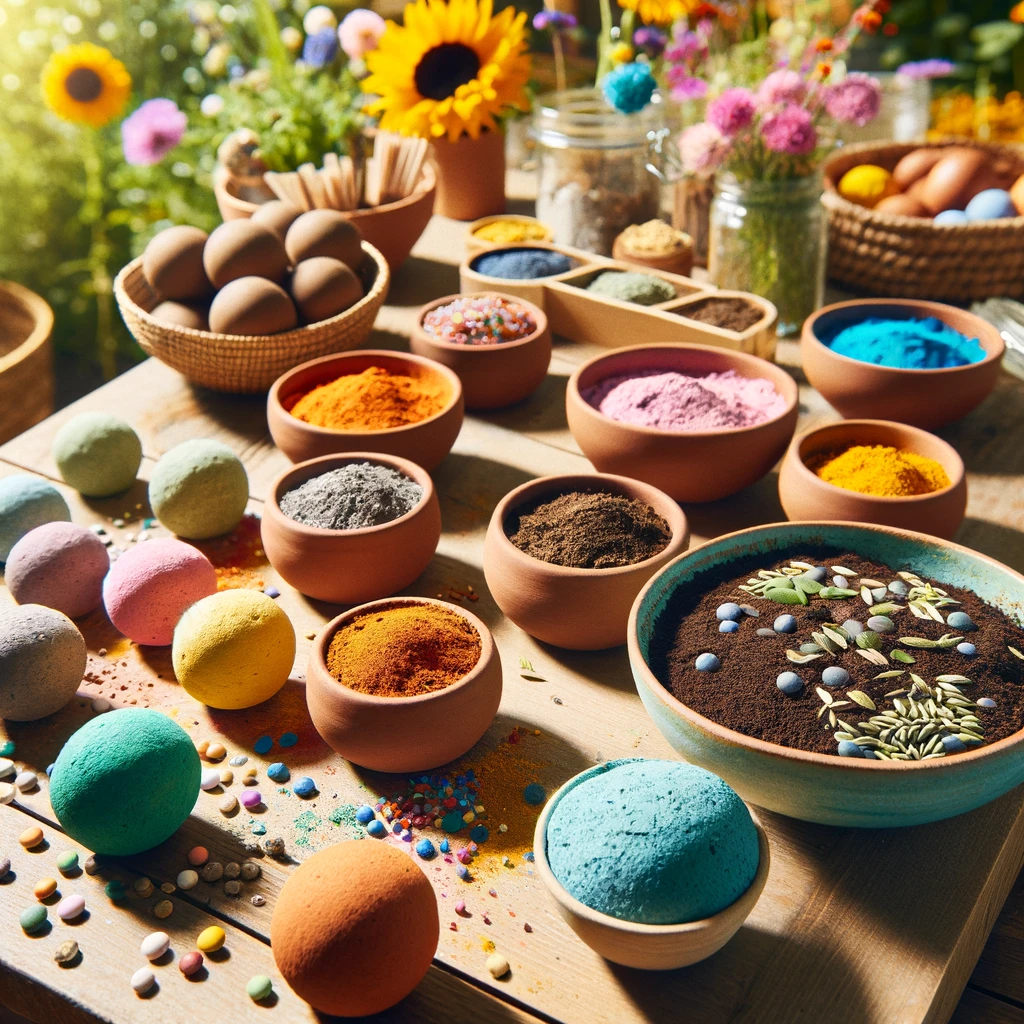
Supplies:
- Clay powder
- Compost or potting soil
- Wildflower seeds
- Water
- Bowl and spoon for mixing
Steps:
- Mix together one part clay powder, one part compost, and one part wildflower seeds in a bowl.
- Slowly add water to the mix until you can form small balls.
- Have kids form the mixture into small balls, about the size of a marble.
- Let the seed bombs dry for a few days.
8. Garden Path
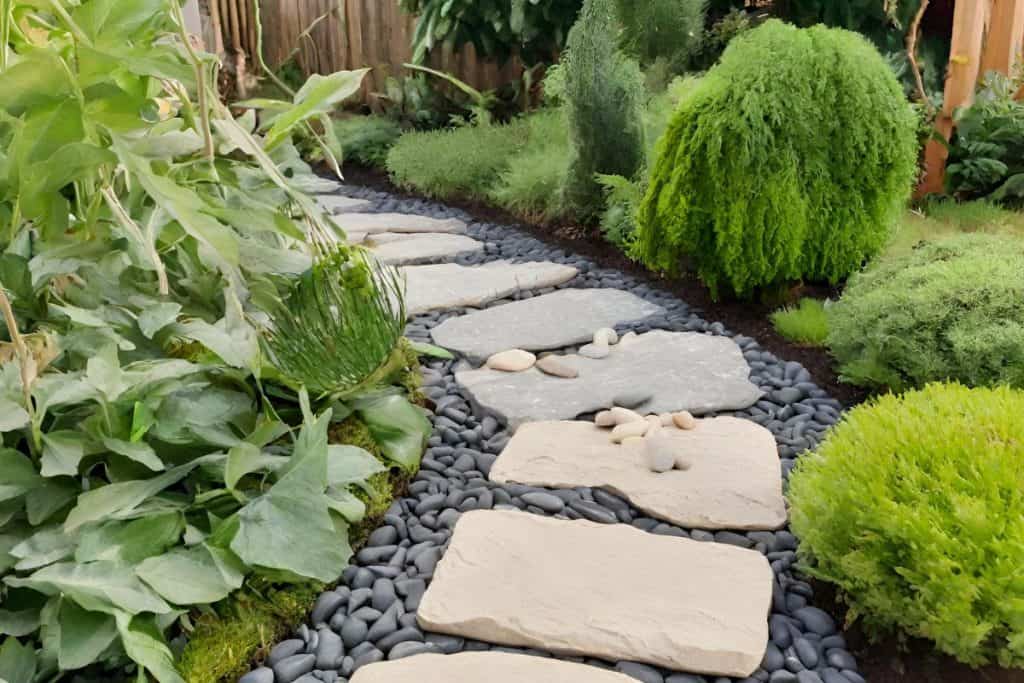
This is on our “to do” list this year. I have these grand visions of a cute winding path through our backyard, kind of like you’d find in the Secret Garden.
Supplies:
- Flat stones, bricks, or concrete stepping stones
- Sand or soil for leveling
Steps:
- Layout the path with your chosen materials.
- Level the ground as needed with sand or soil.
- Place the stones or bricks firmly into the ground to prevent shifting.
9. Garden Wind Chimes
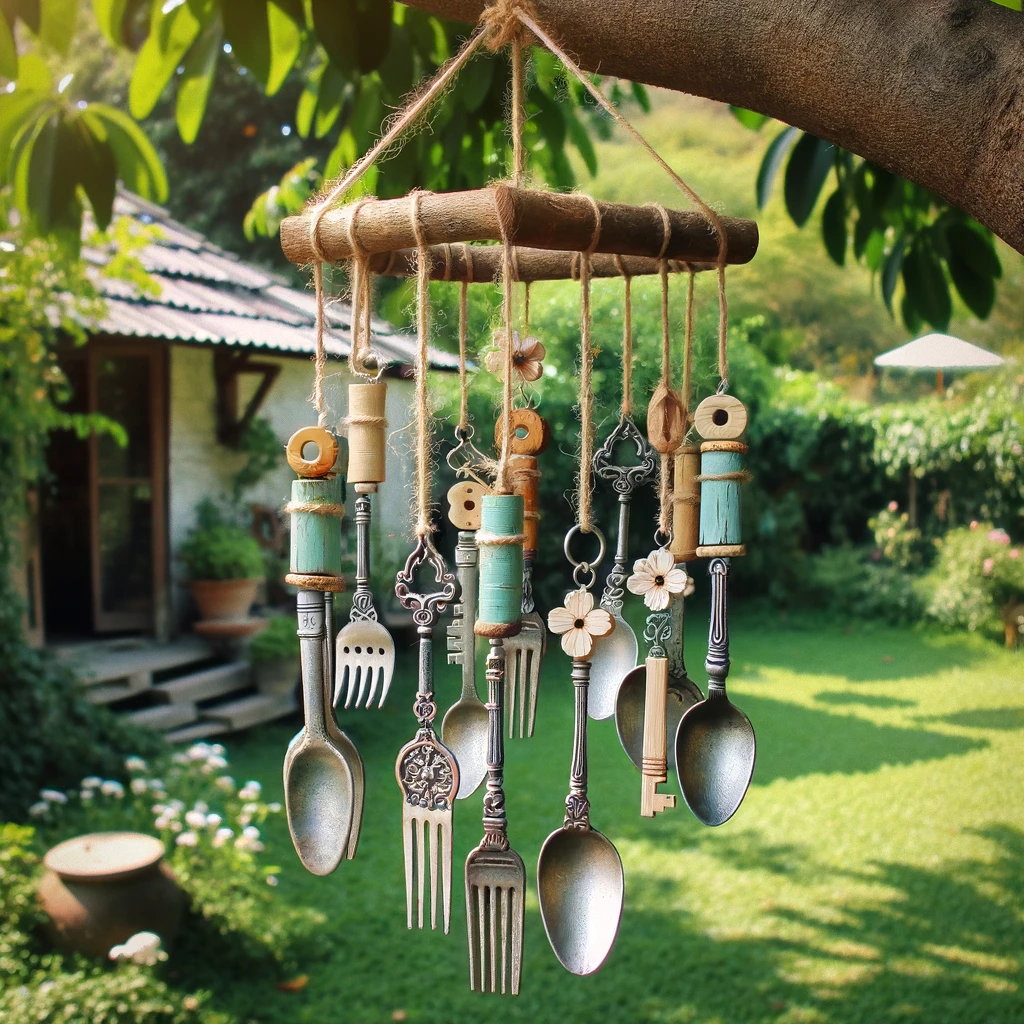
Side note, the image above is totally AI, but isn’t it cool? You could easily pull it off with some vintage silverware from a thrift shop, old keys, and painted corks.
Supplies:
- Old keys or silverware
- Strong fishing line or thin metal wire
- A stick or a metal rod
- Paint (optional)
Steps:
- Paint the keys or silverware if desired and let them dry.
- Tie each key or piece of silverware to the stick or rod using fishing line or metal wire, spacing them out evenly.
- Hang the rod securely from a tree branch or a hook on your porch where it can catch the breeze.
10. Glowing Garden Globes

Supplies:
- Old glass light fixtures or clear glass bowls
- Glow-in-the-dark paint
- Brushes
Steps:
- Clean the glass globes or bowls.
- Paint the inside of the globes or bowls with glow-in-the-dark paint and let them dry.
- Place or hang the globes around your garden.
- The globes will glow at night after being charged by sunlight.
These DIY Garden decor projects are not only simple and inexpensive but also enhance the beauty and uniqueness of your outdoor space. Enjoy crafting and personalizing your garden!
PIN This for Later

Pingback: Fresh Tomatoes vs. Canned Tomatoes: Making a Delicious Tomato Sauce - Cheap Meals And Reels